notes on disassembling an SLR lens
So, this isn’t a detailed teardown of this lens; if you want that, maybe hit me up and I’ll give you a blow-by-blow over some beers. This is a general set of guidelines for doing dissassembly of something complex that you need to do something to, but don’t really know how it should be assembled. For anyting other than a lens, just substitute it in; I use the same techniques on laptops or computers or telescopes or whatever.
Firstly, I’ll pass on a tip I read somewhere when I was about half the age I am now: when disassembling, imagine the machine is a bomb, and if you pull too hard or force something it will go off. The metaphor extends: the bomb will blow a hole in your bank account.
So: what will you need? First: the right screwdriver, wrench, pin-spanner, or other tool as required. For this job, it was an assortment of 000 and 00 philips head screwdrivers. Disassembly of lenses requires the right tools. You can make the attempt without the tools, but it most often ends in damaging something; I have a 50mm 1.2 Canon (in Leica thread mount) with a damaged rear element to testify to this fact.
Second: calm. A person or people designed the lens; you’re also a person, and you’re capable, with a little thought, of understanding the design, at least of the mechanical parts. Further, the assembly of the lens was left to people on an assembly line in a factory, so it shouldn’t be rocket science to take it apart and put it back together. It helps to be able to stop the work when you’re tired, and come back fresh later.
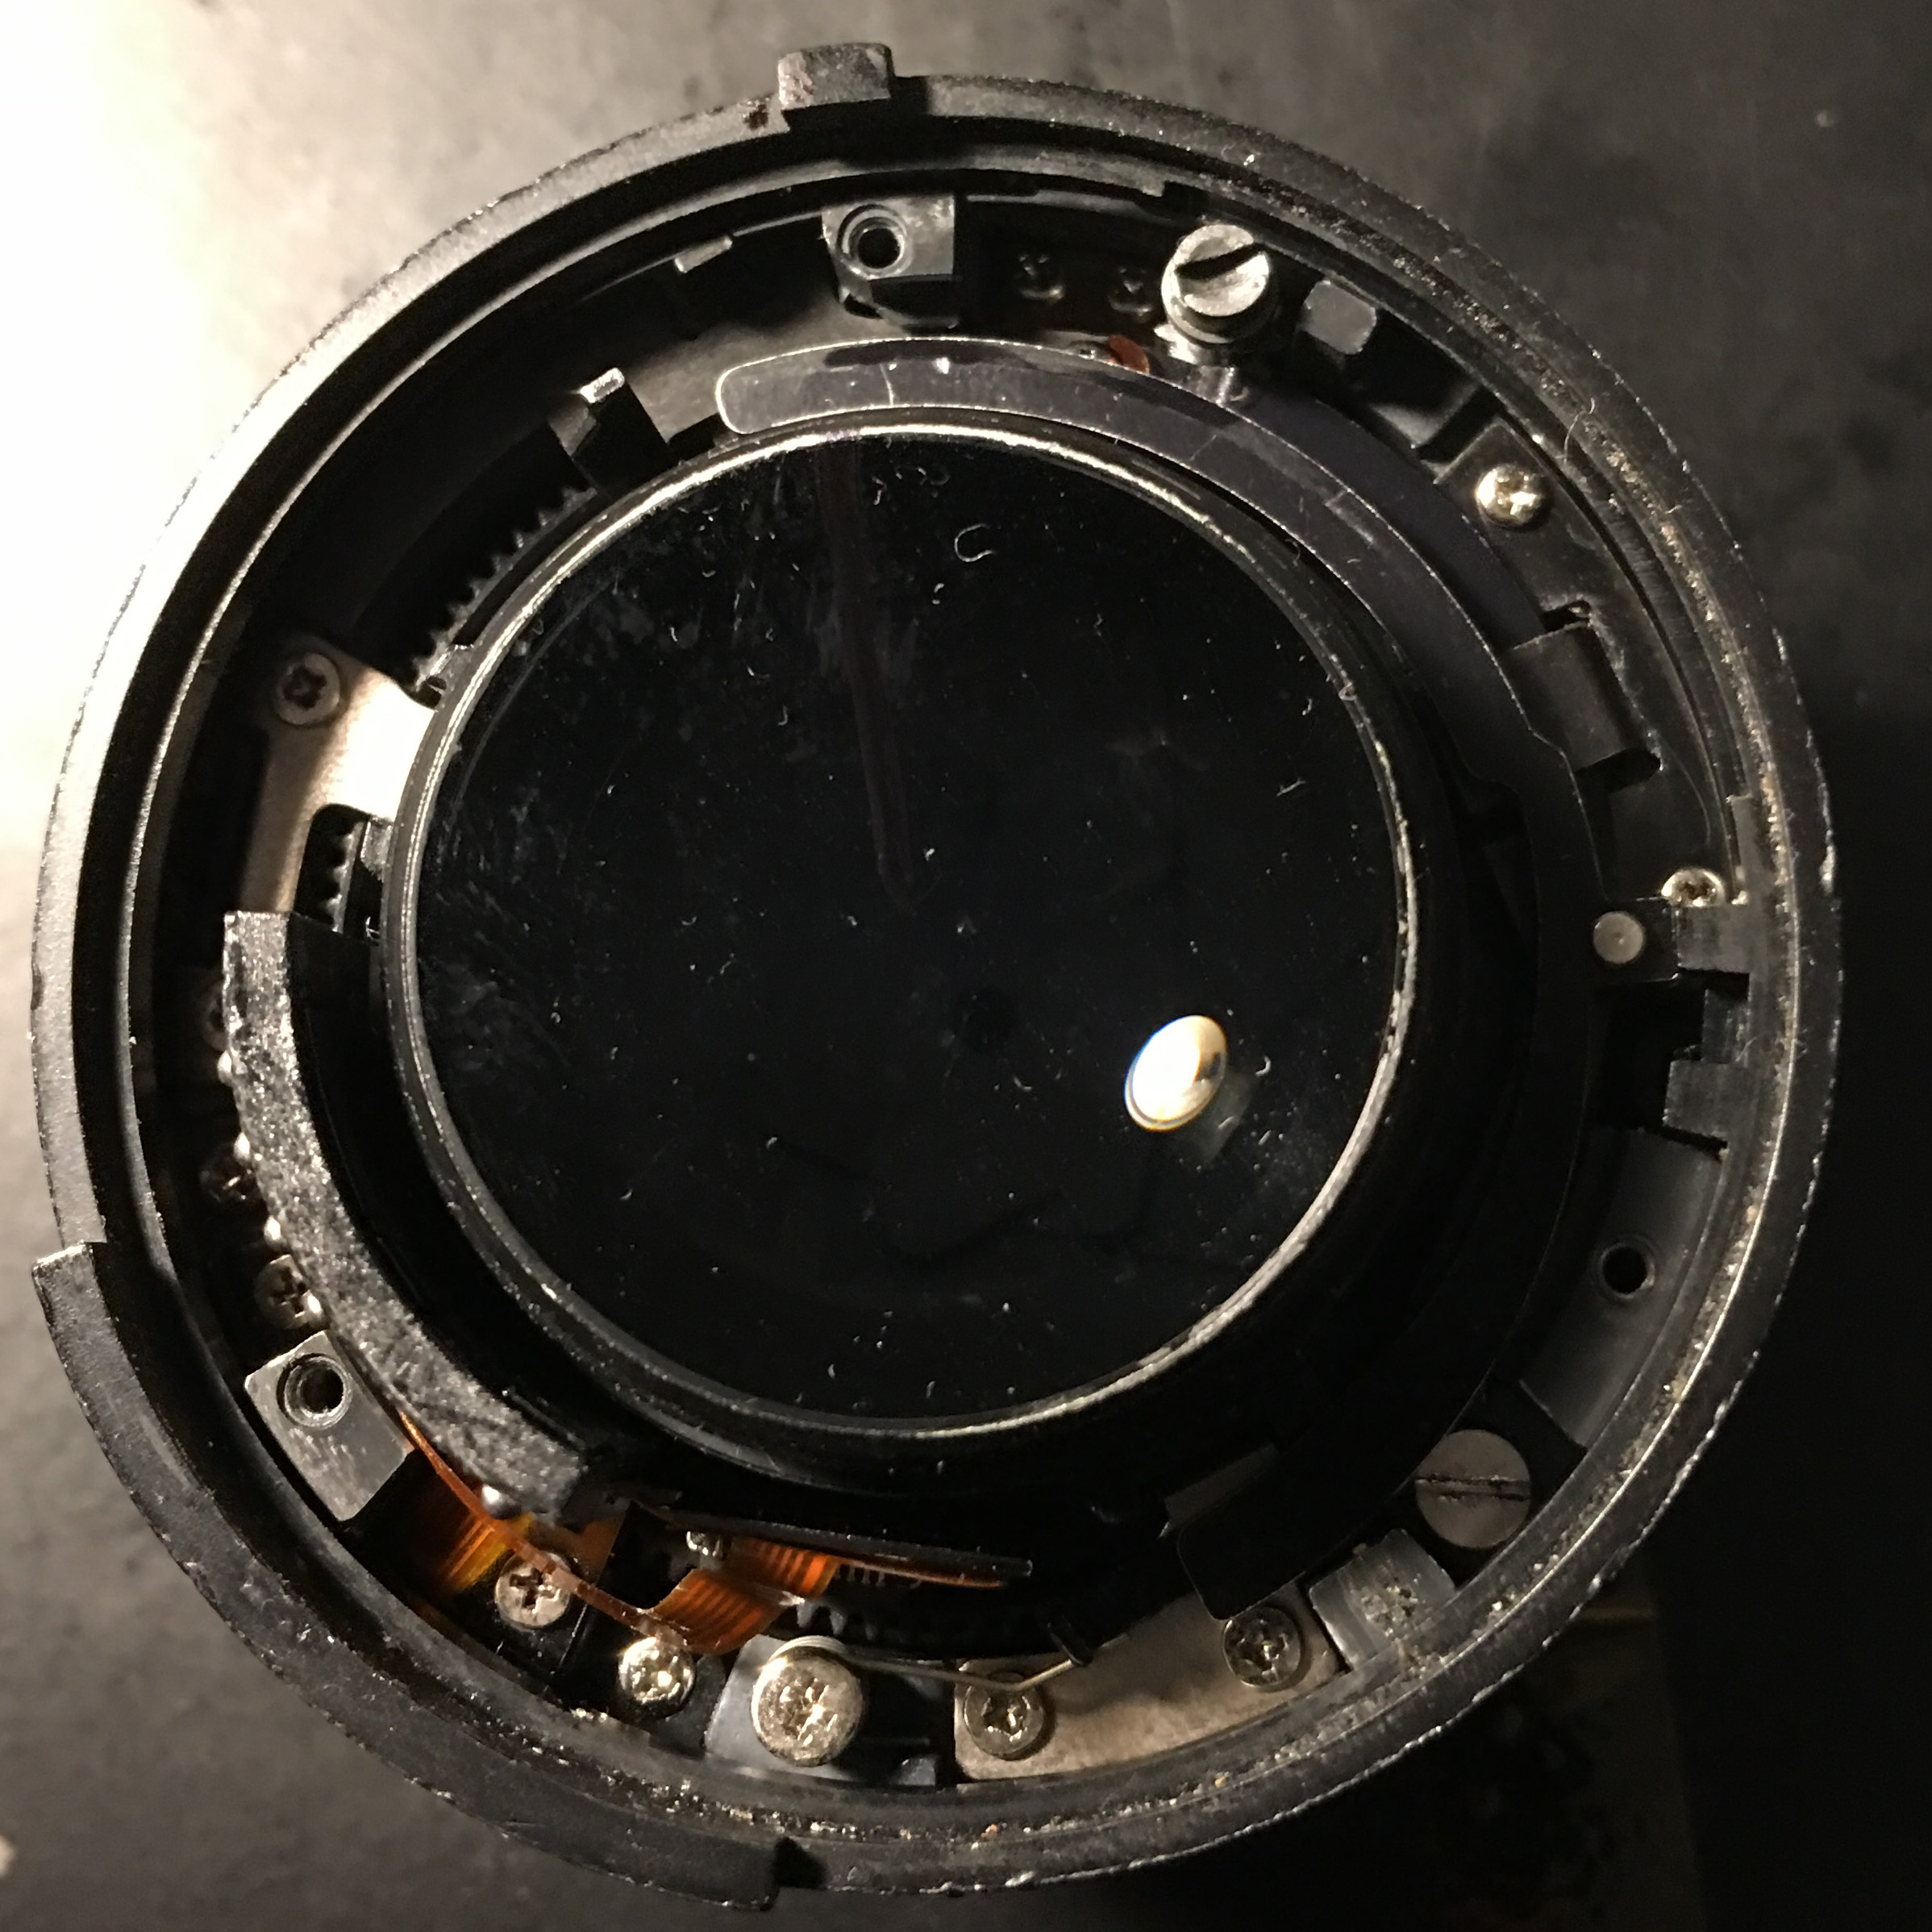
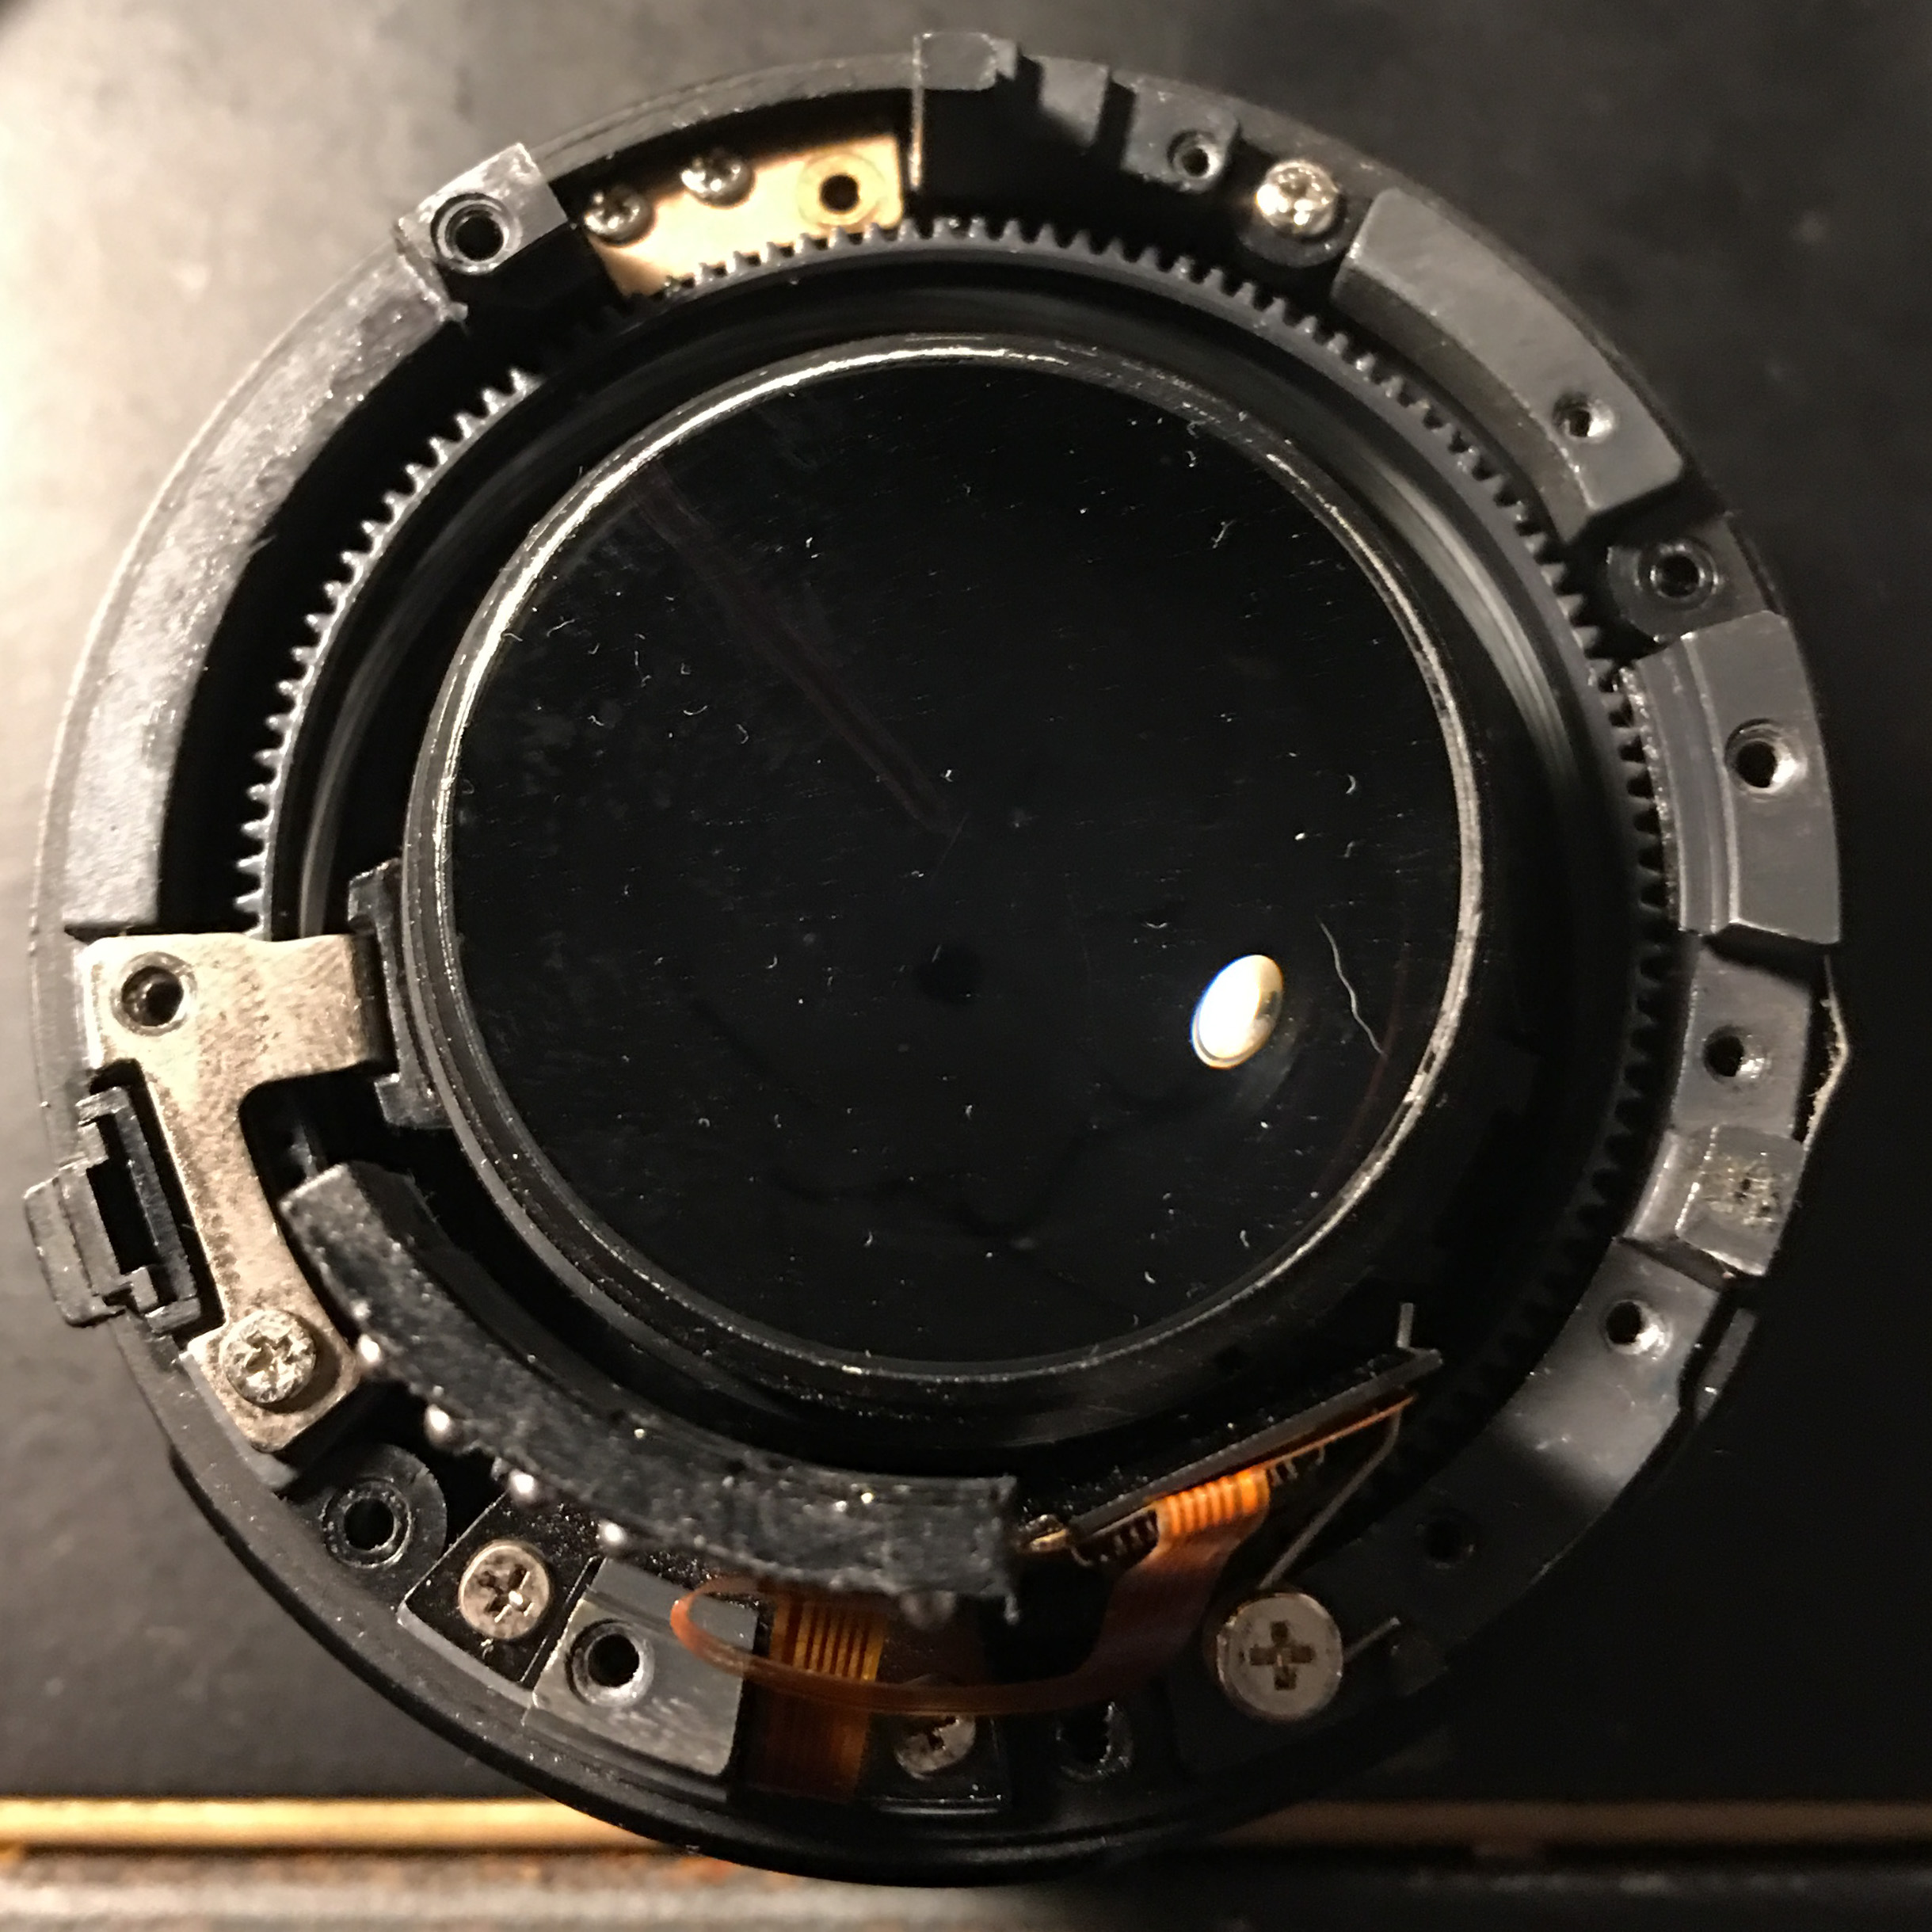
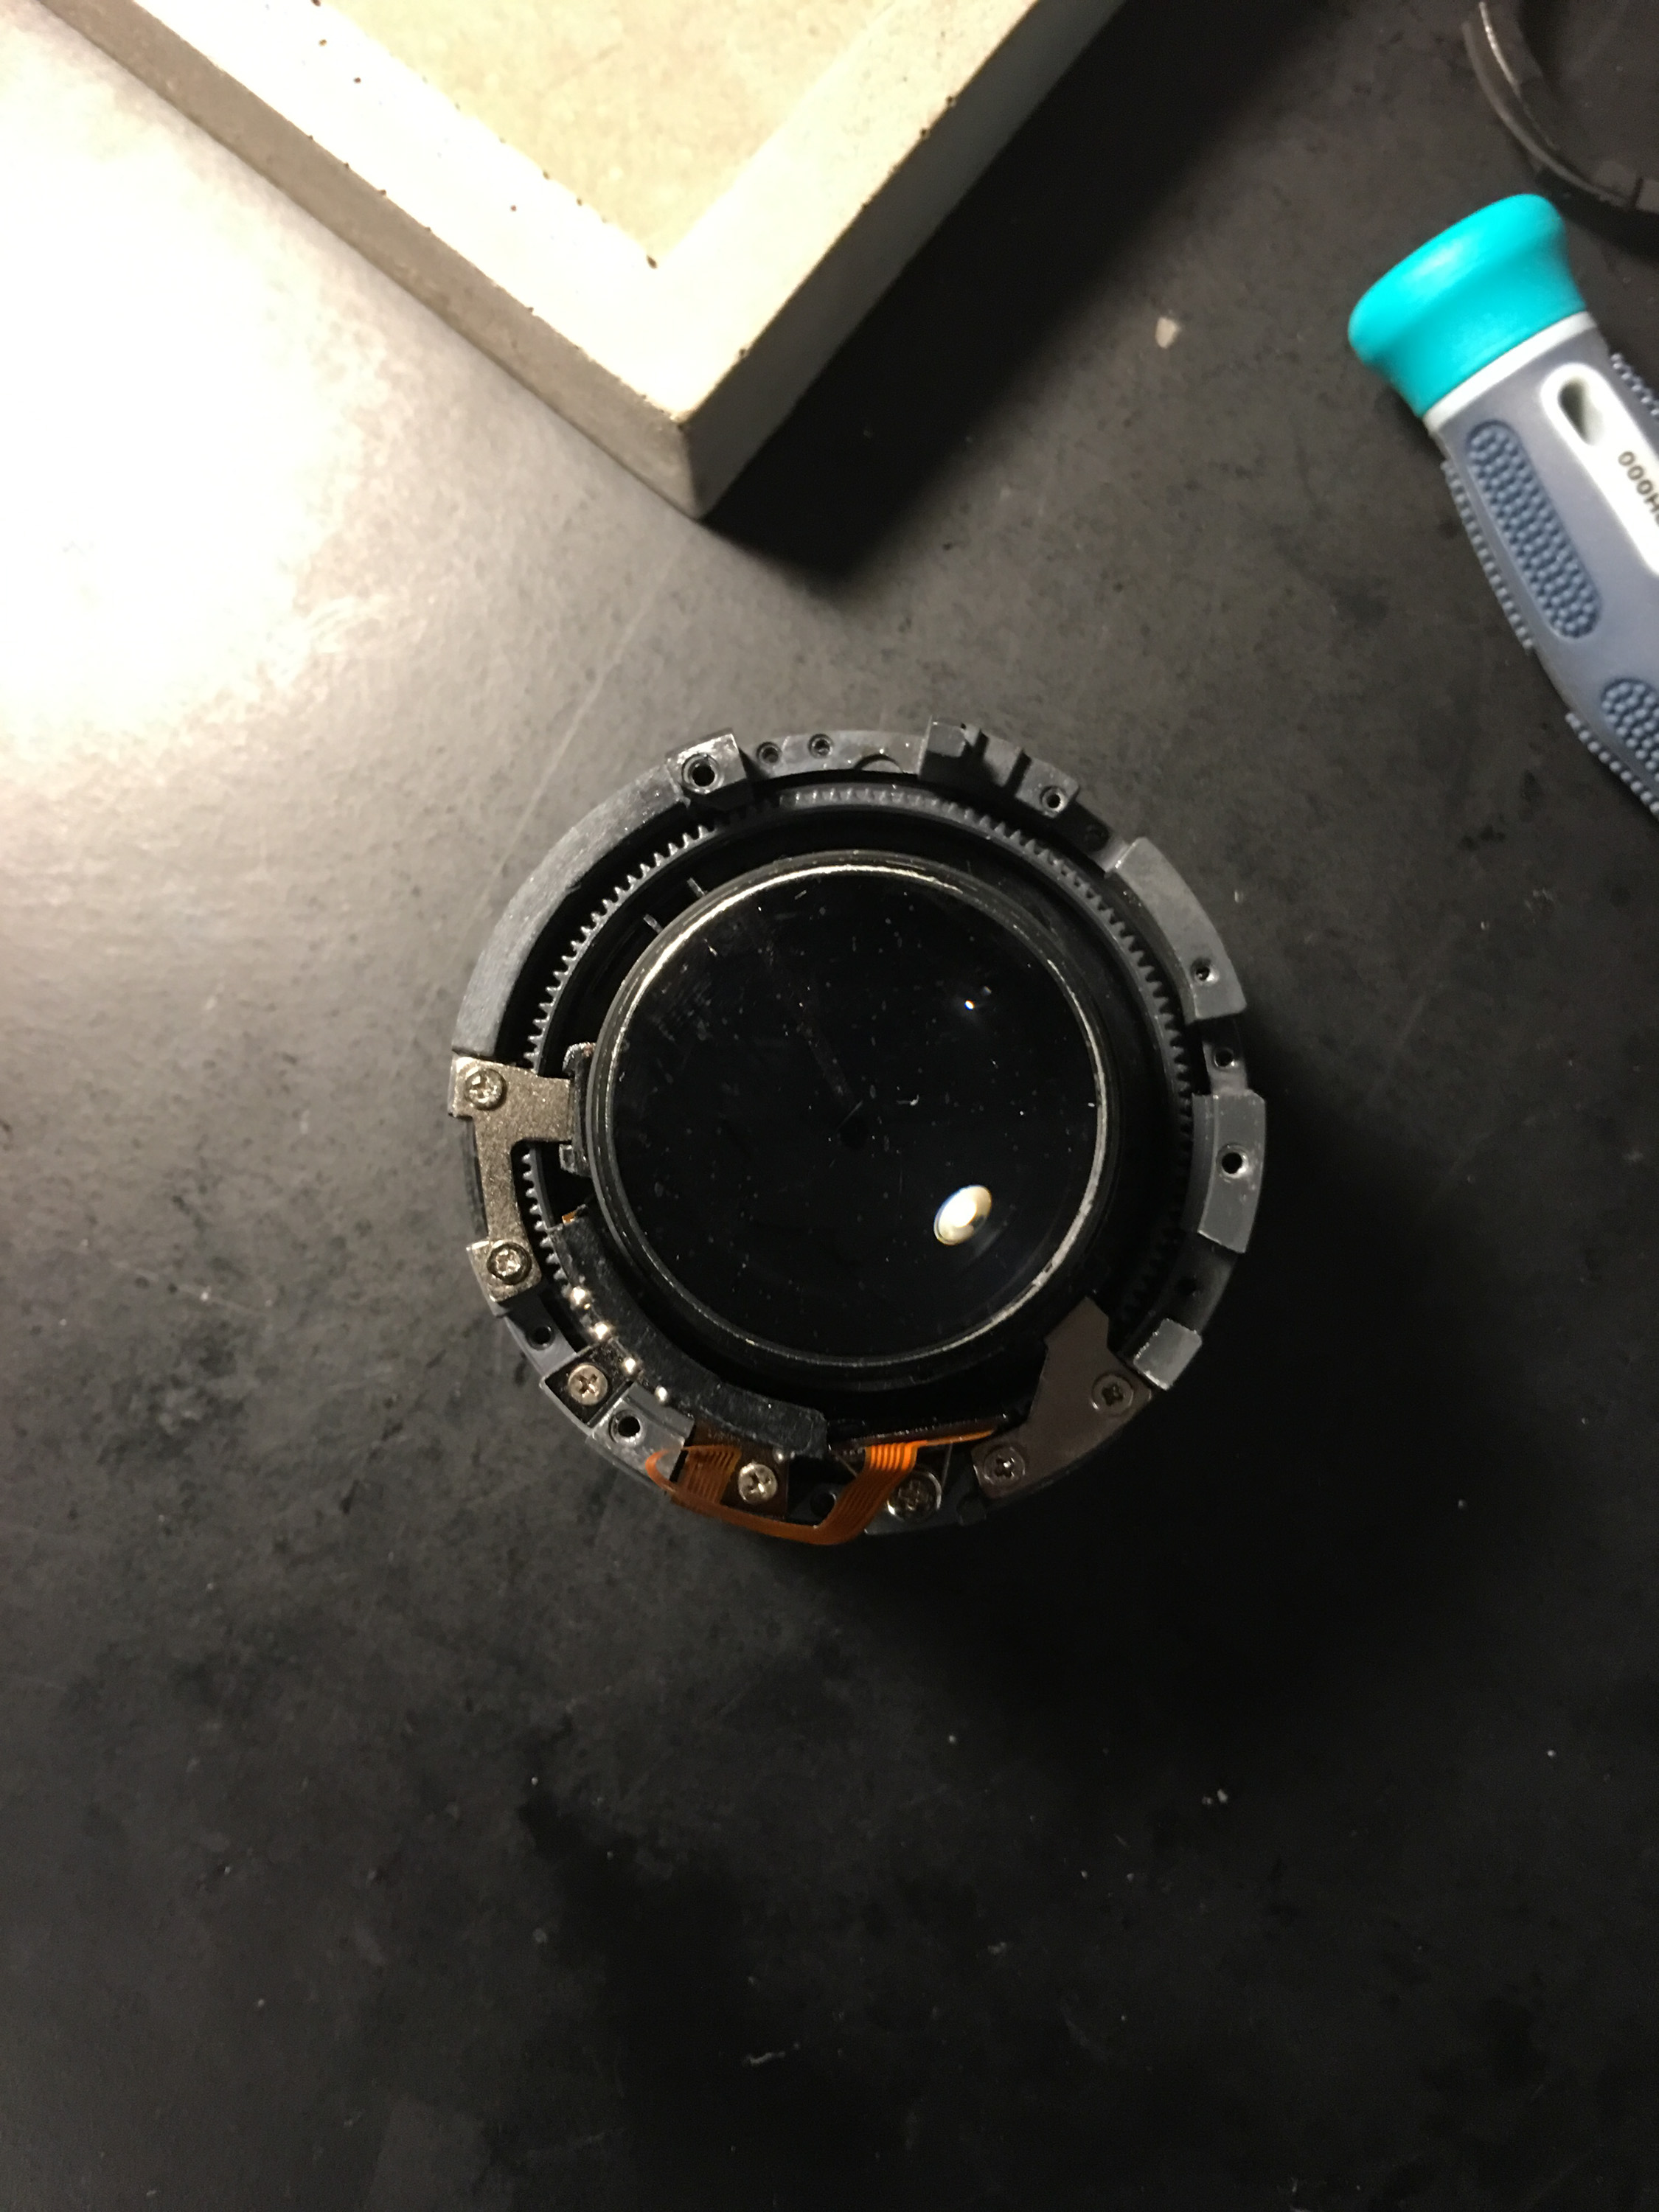
So, to help facilitate that, I do a couple of things. I take pictures as I go, just on my phone camera, to help me note the orientation of parts and screws, and to remember the order that things came apart in. Sometimes one or two pictures is sufficient; sometimes, like this repair, I’ll take pictures of every part as they come off. (I’m not showing all of them, because that would be pretty boring).
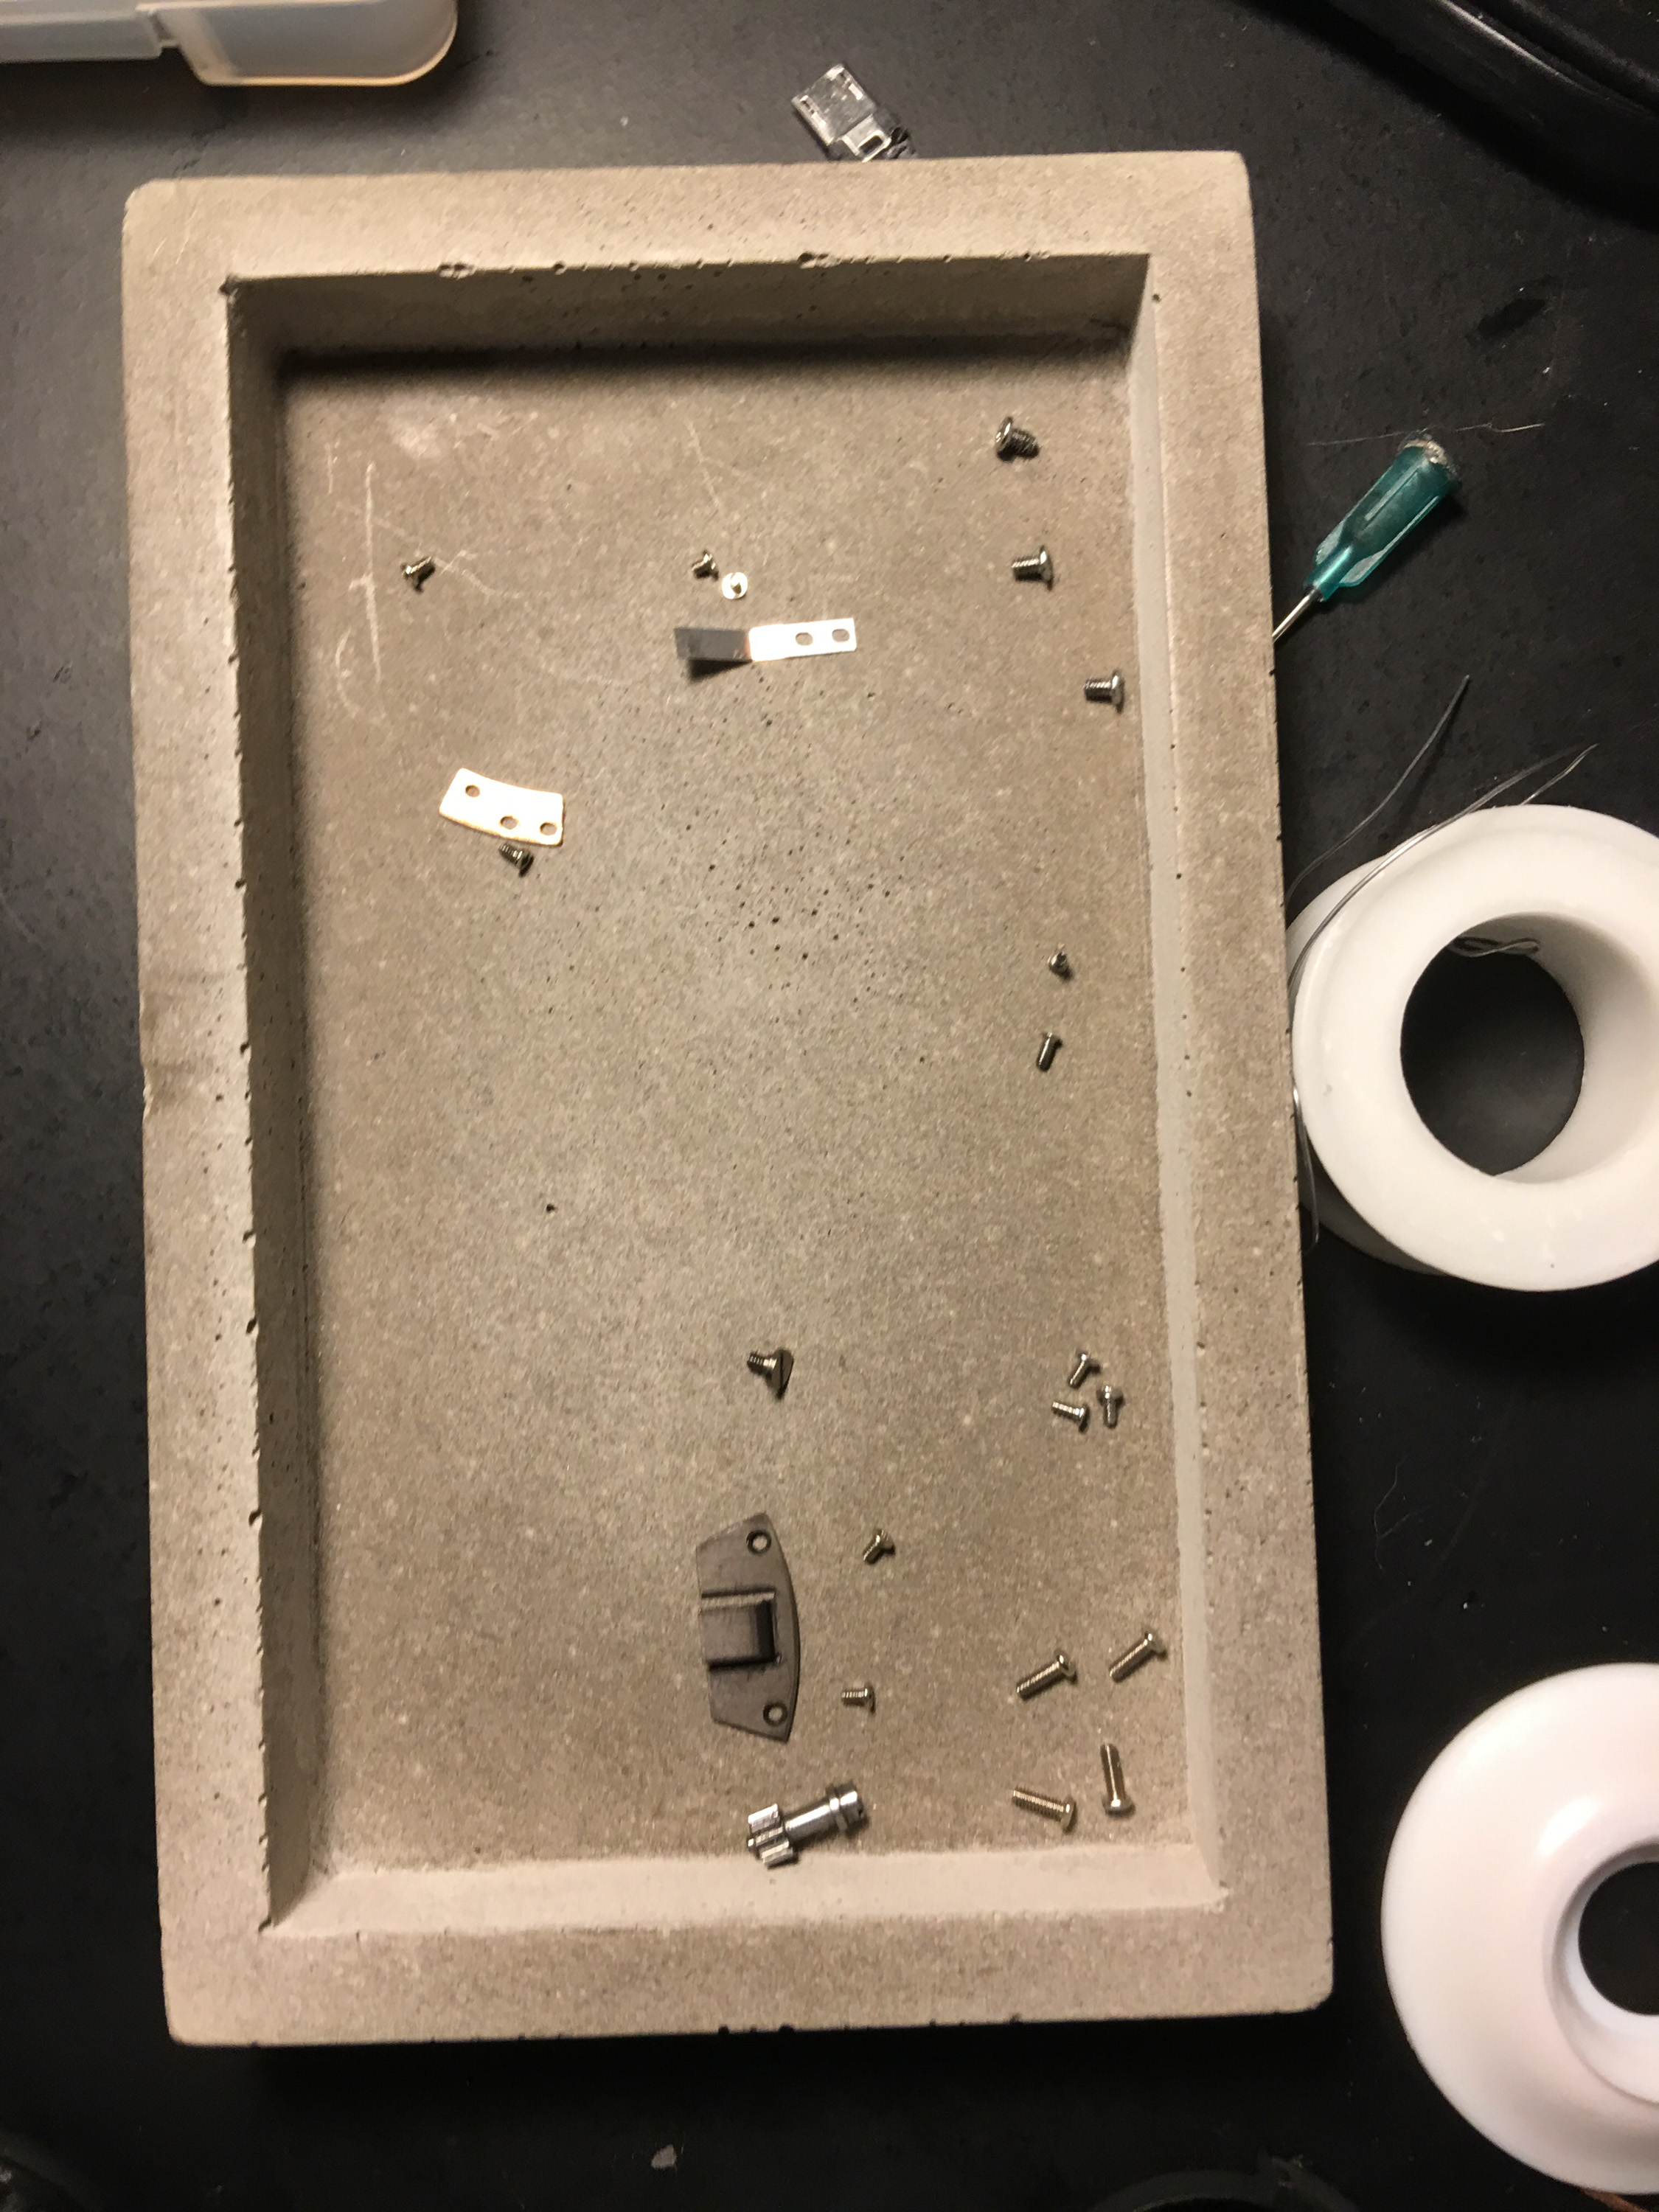
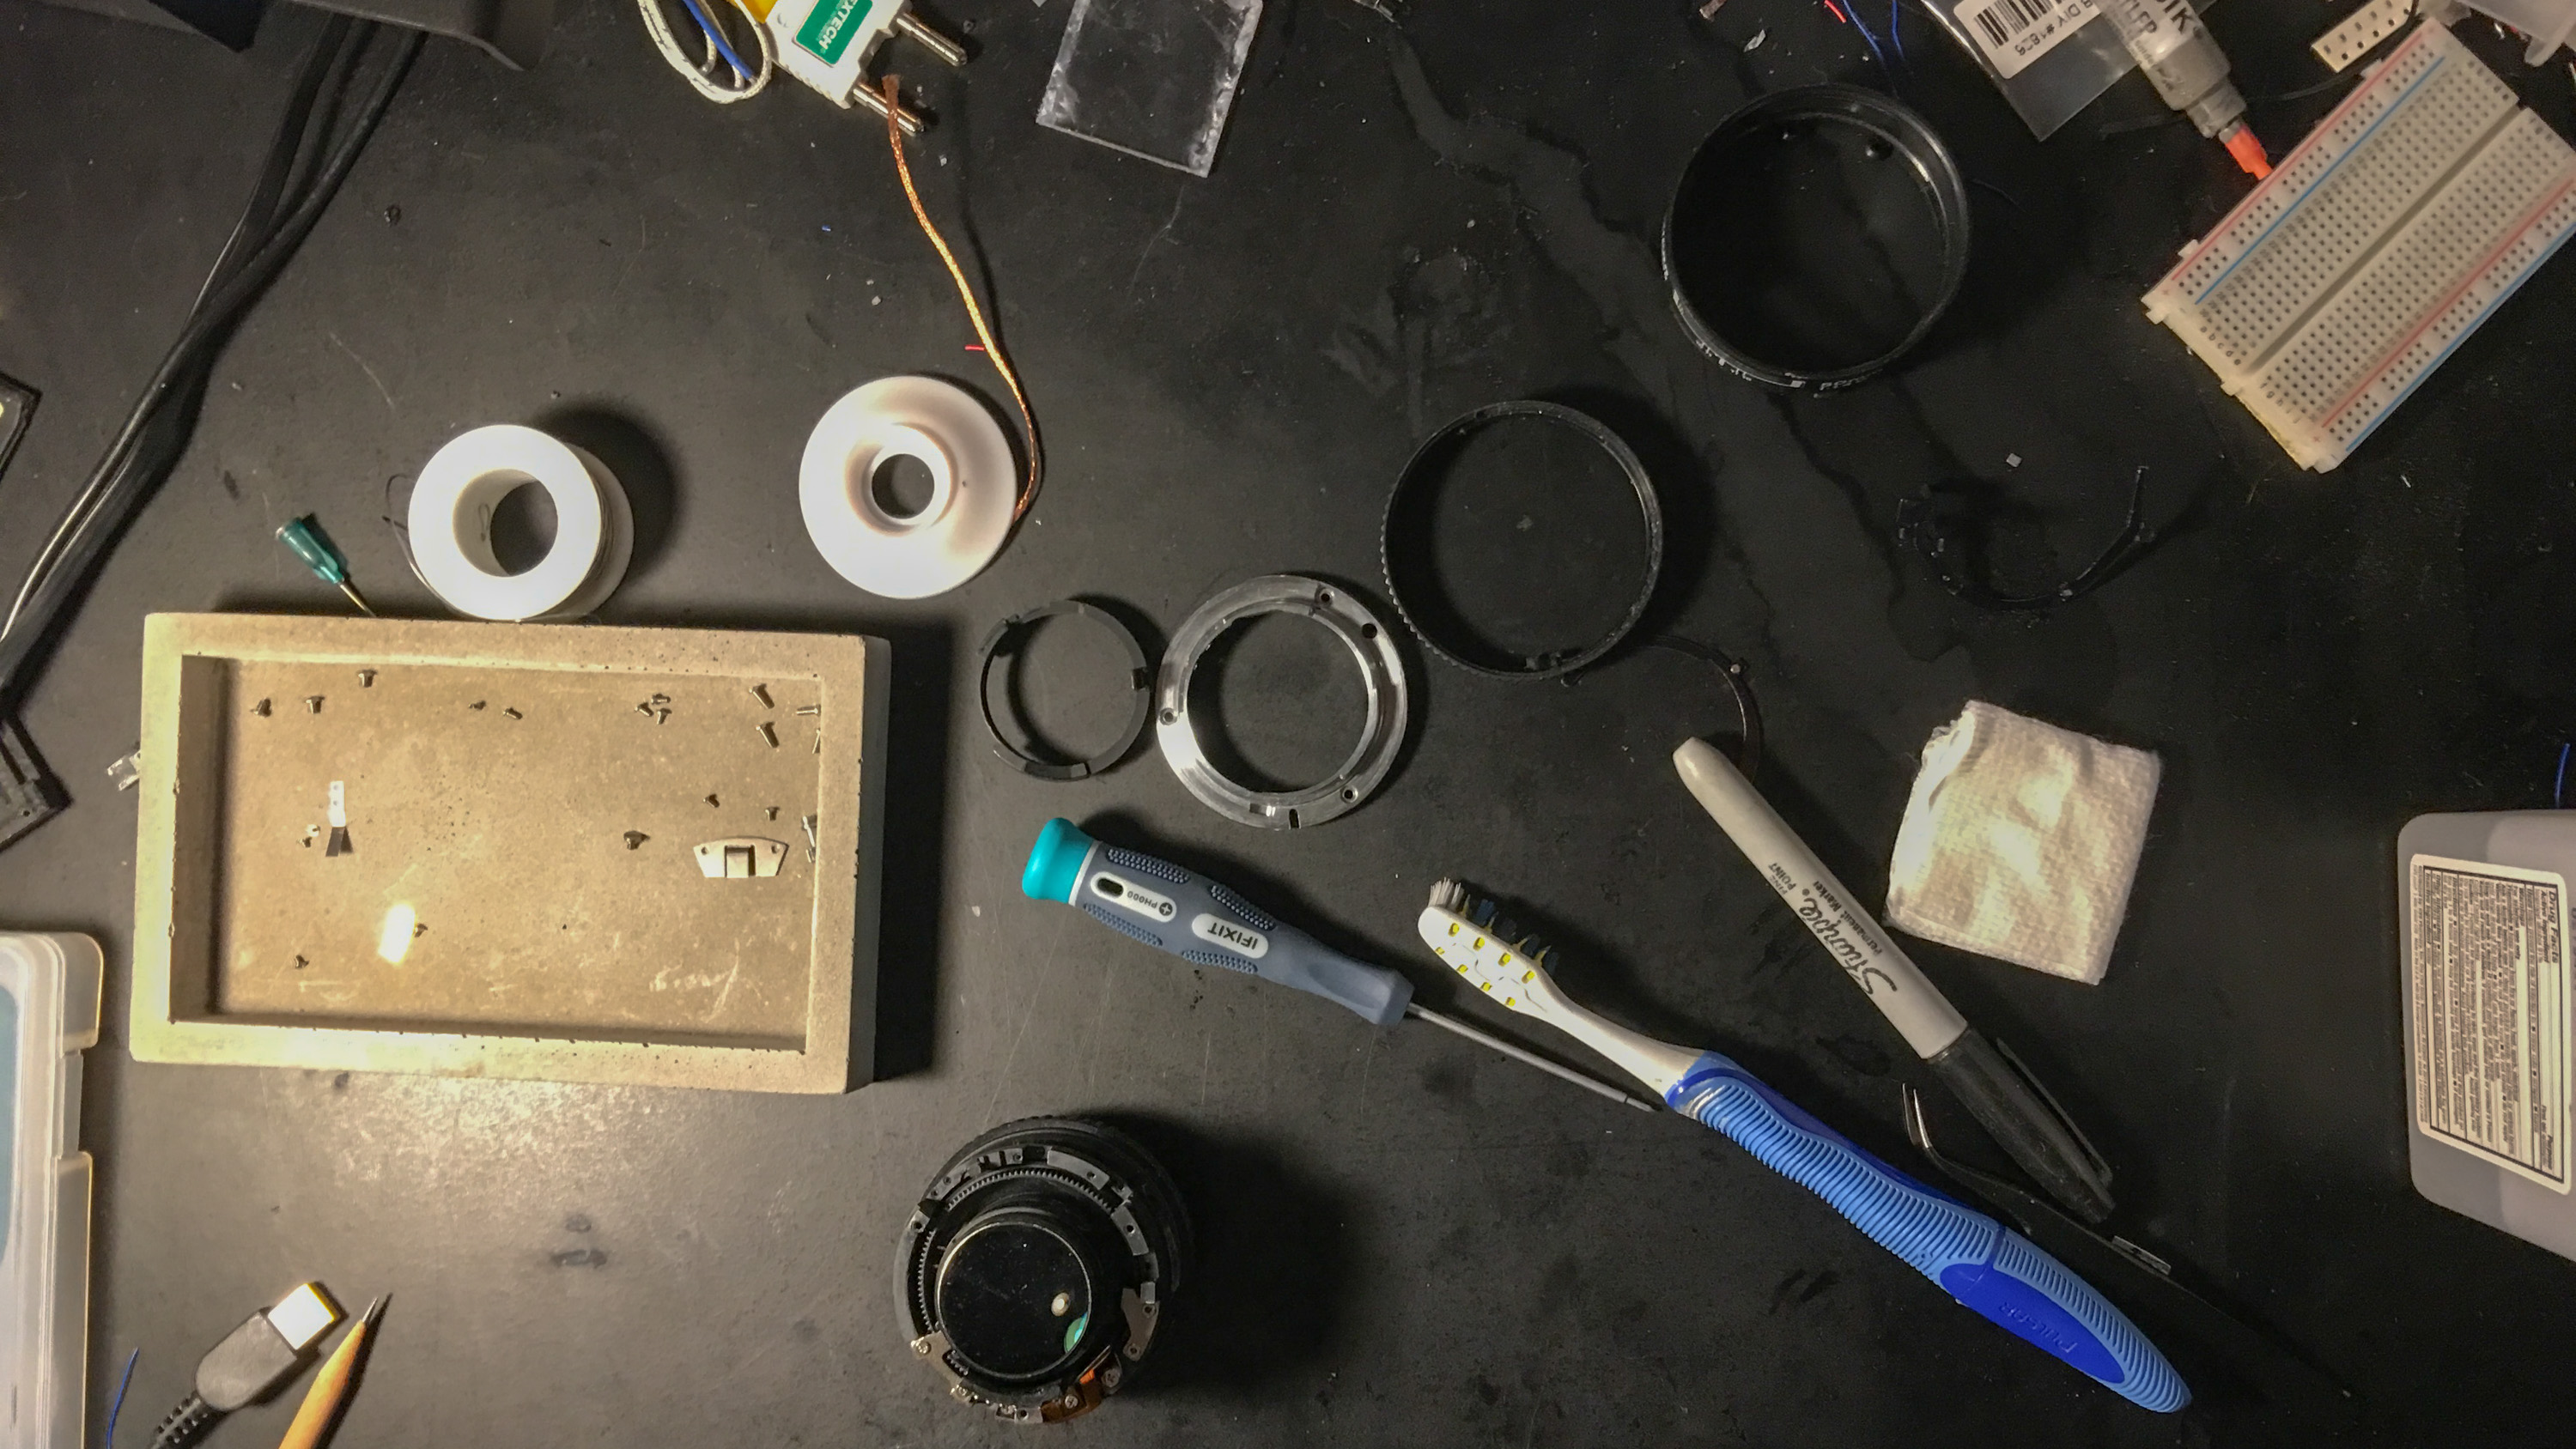
I have a screw tray, usually just some container that also happened to be on my desk, to put the screws in as they come out. The gray one you see here is concrete, part of a desk set I got and didn’t know what to do with. Small parts also go here, since they are just as easy to lose.
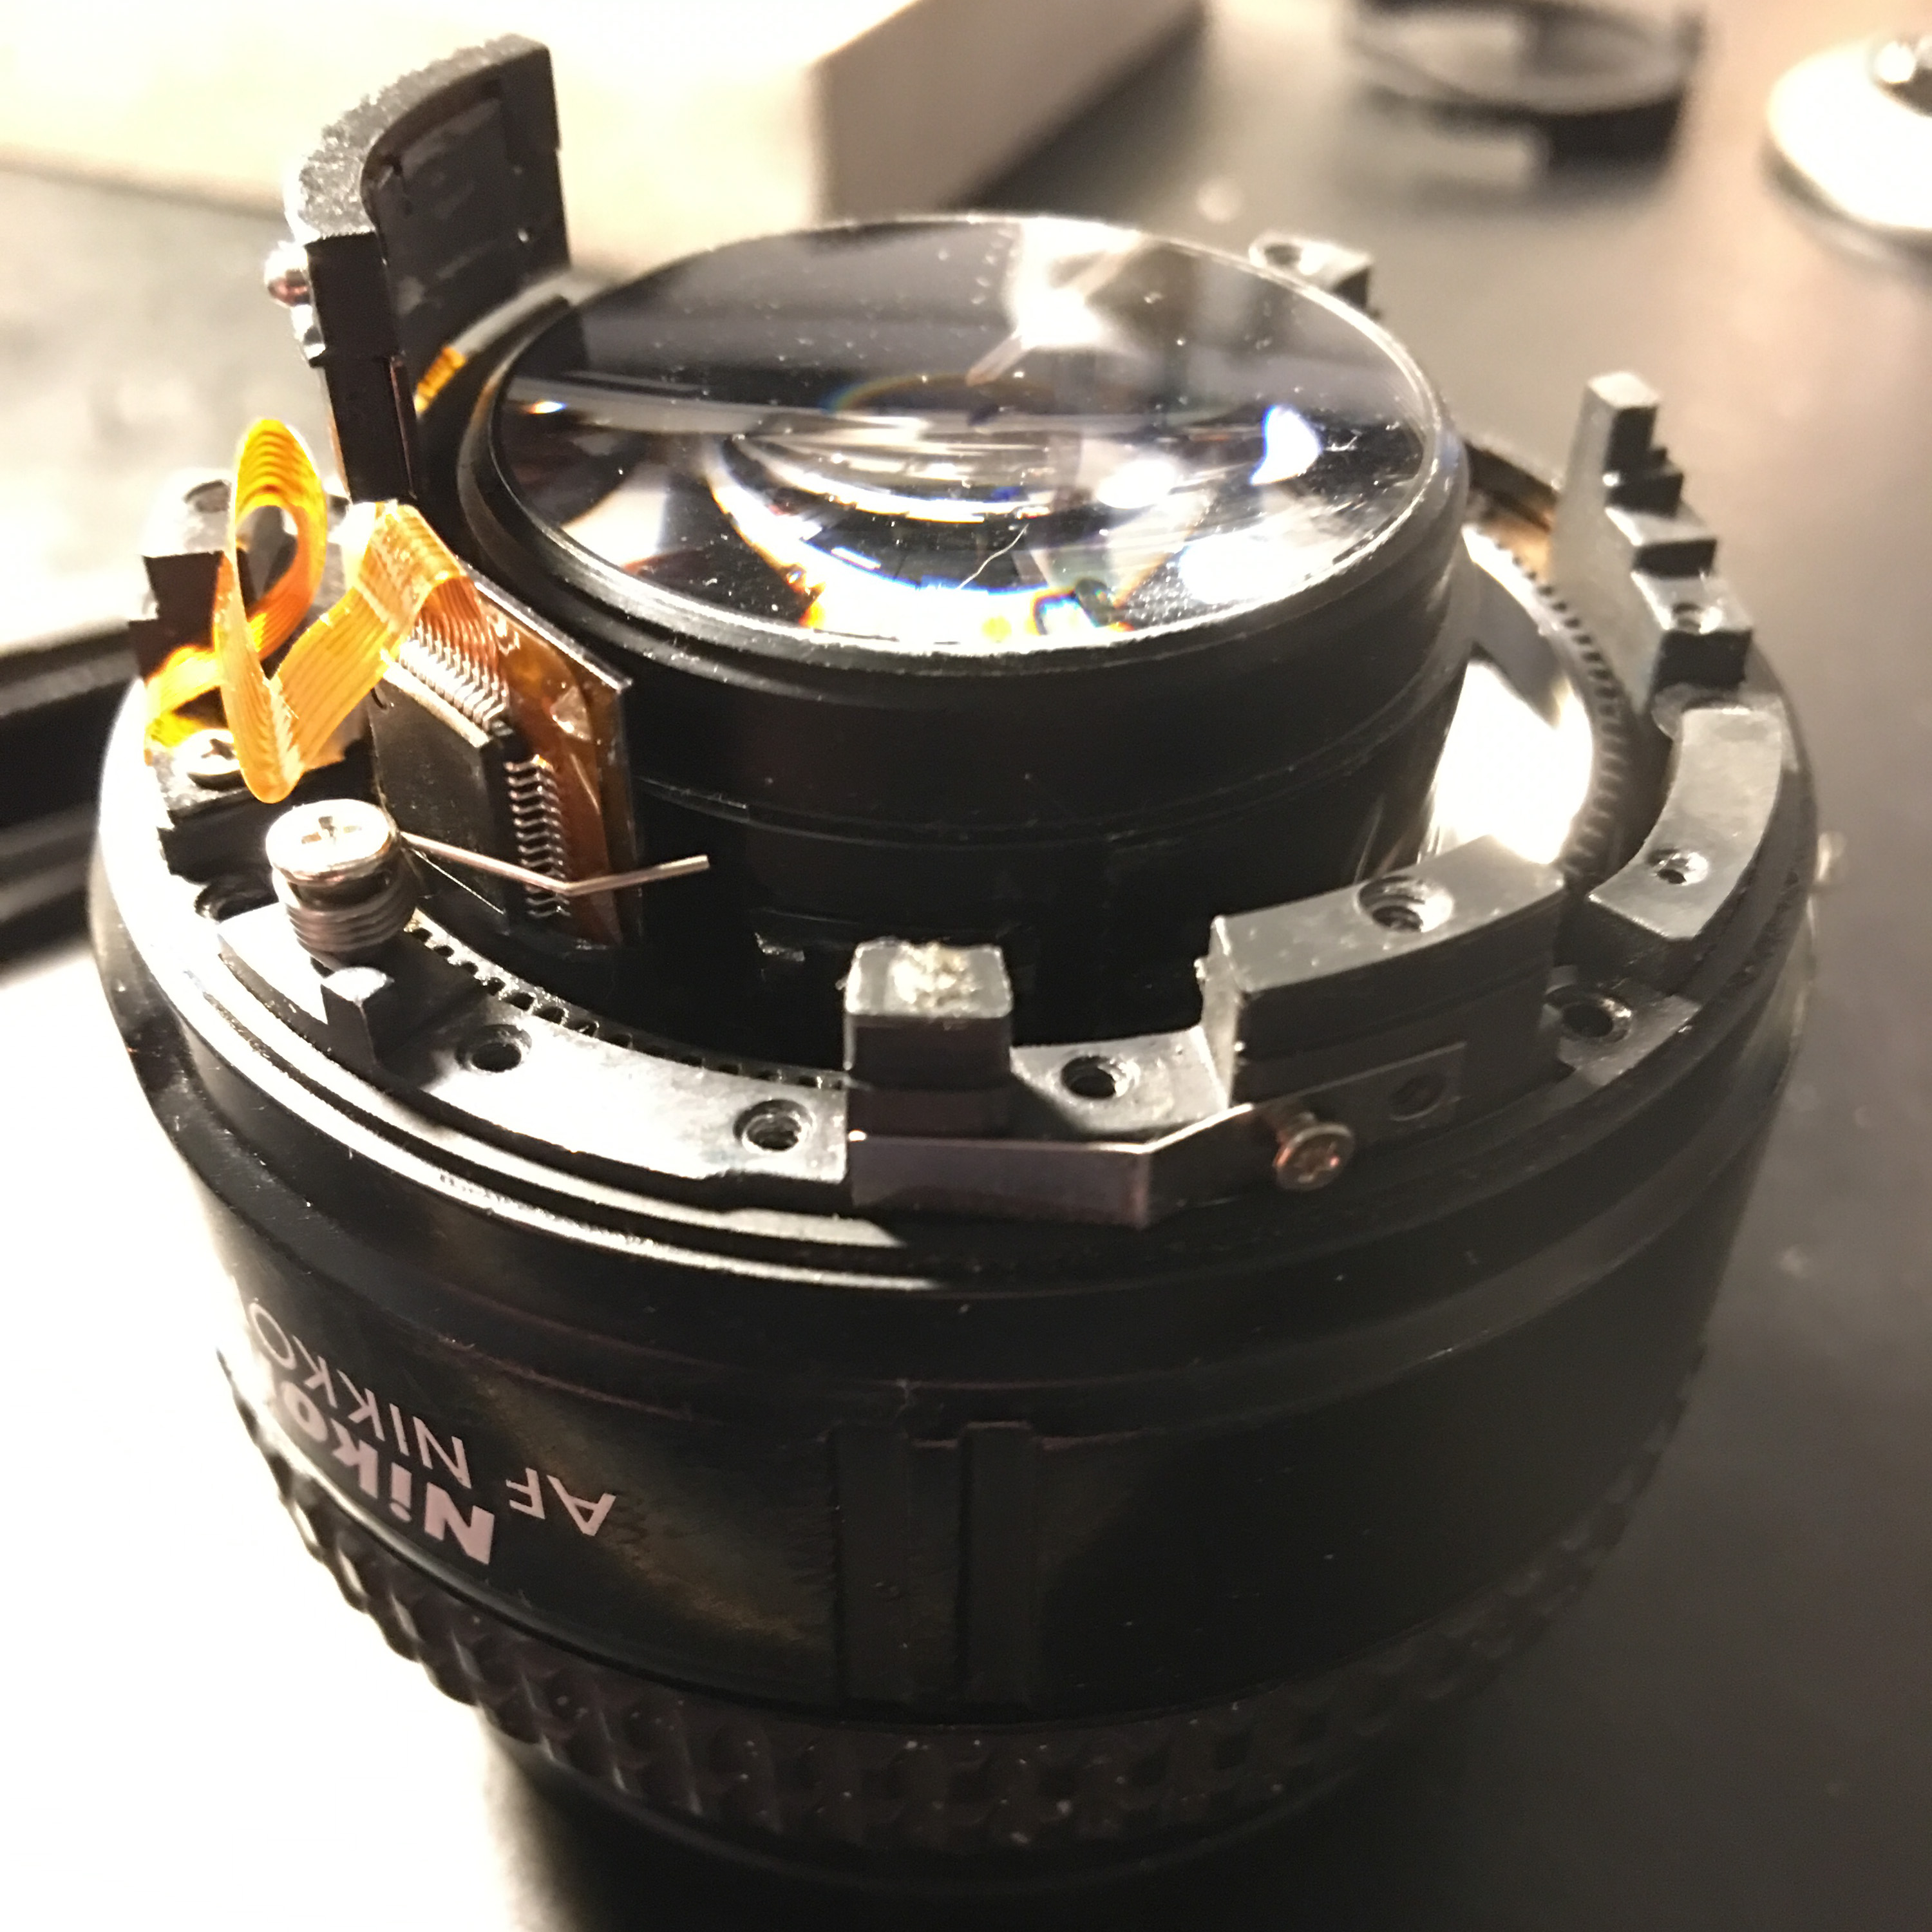
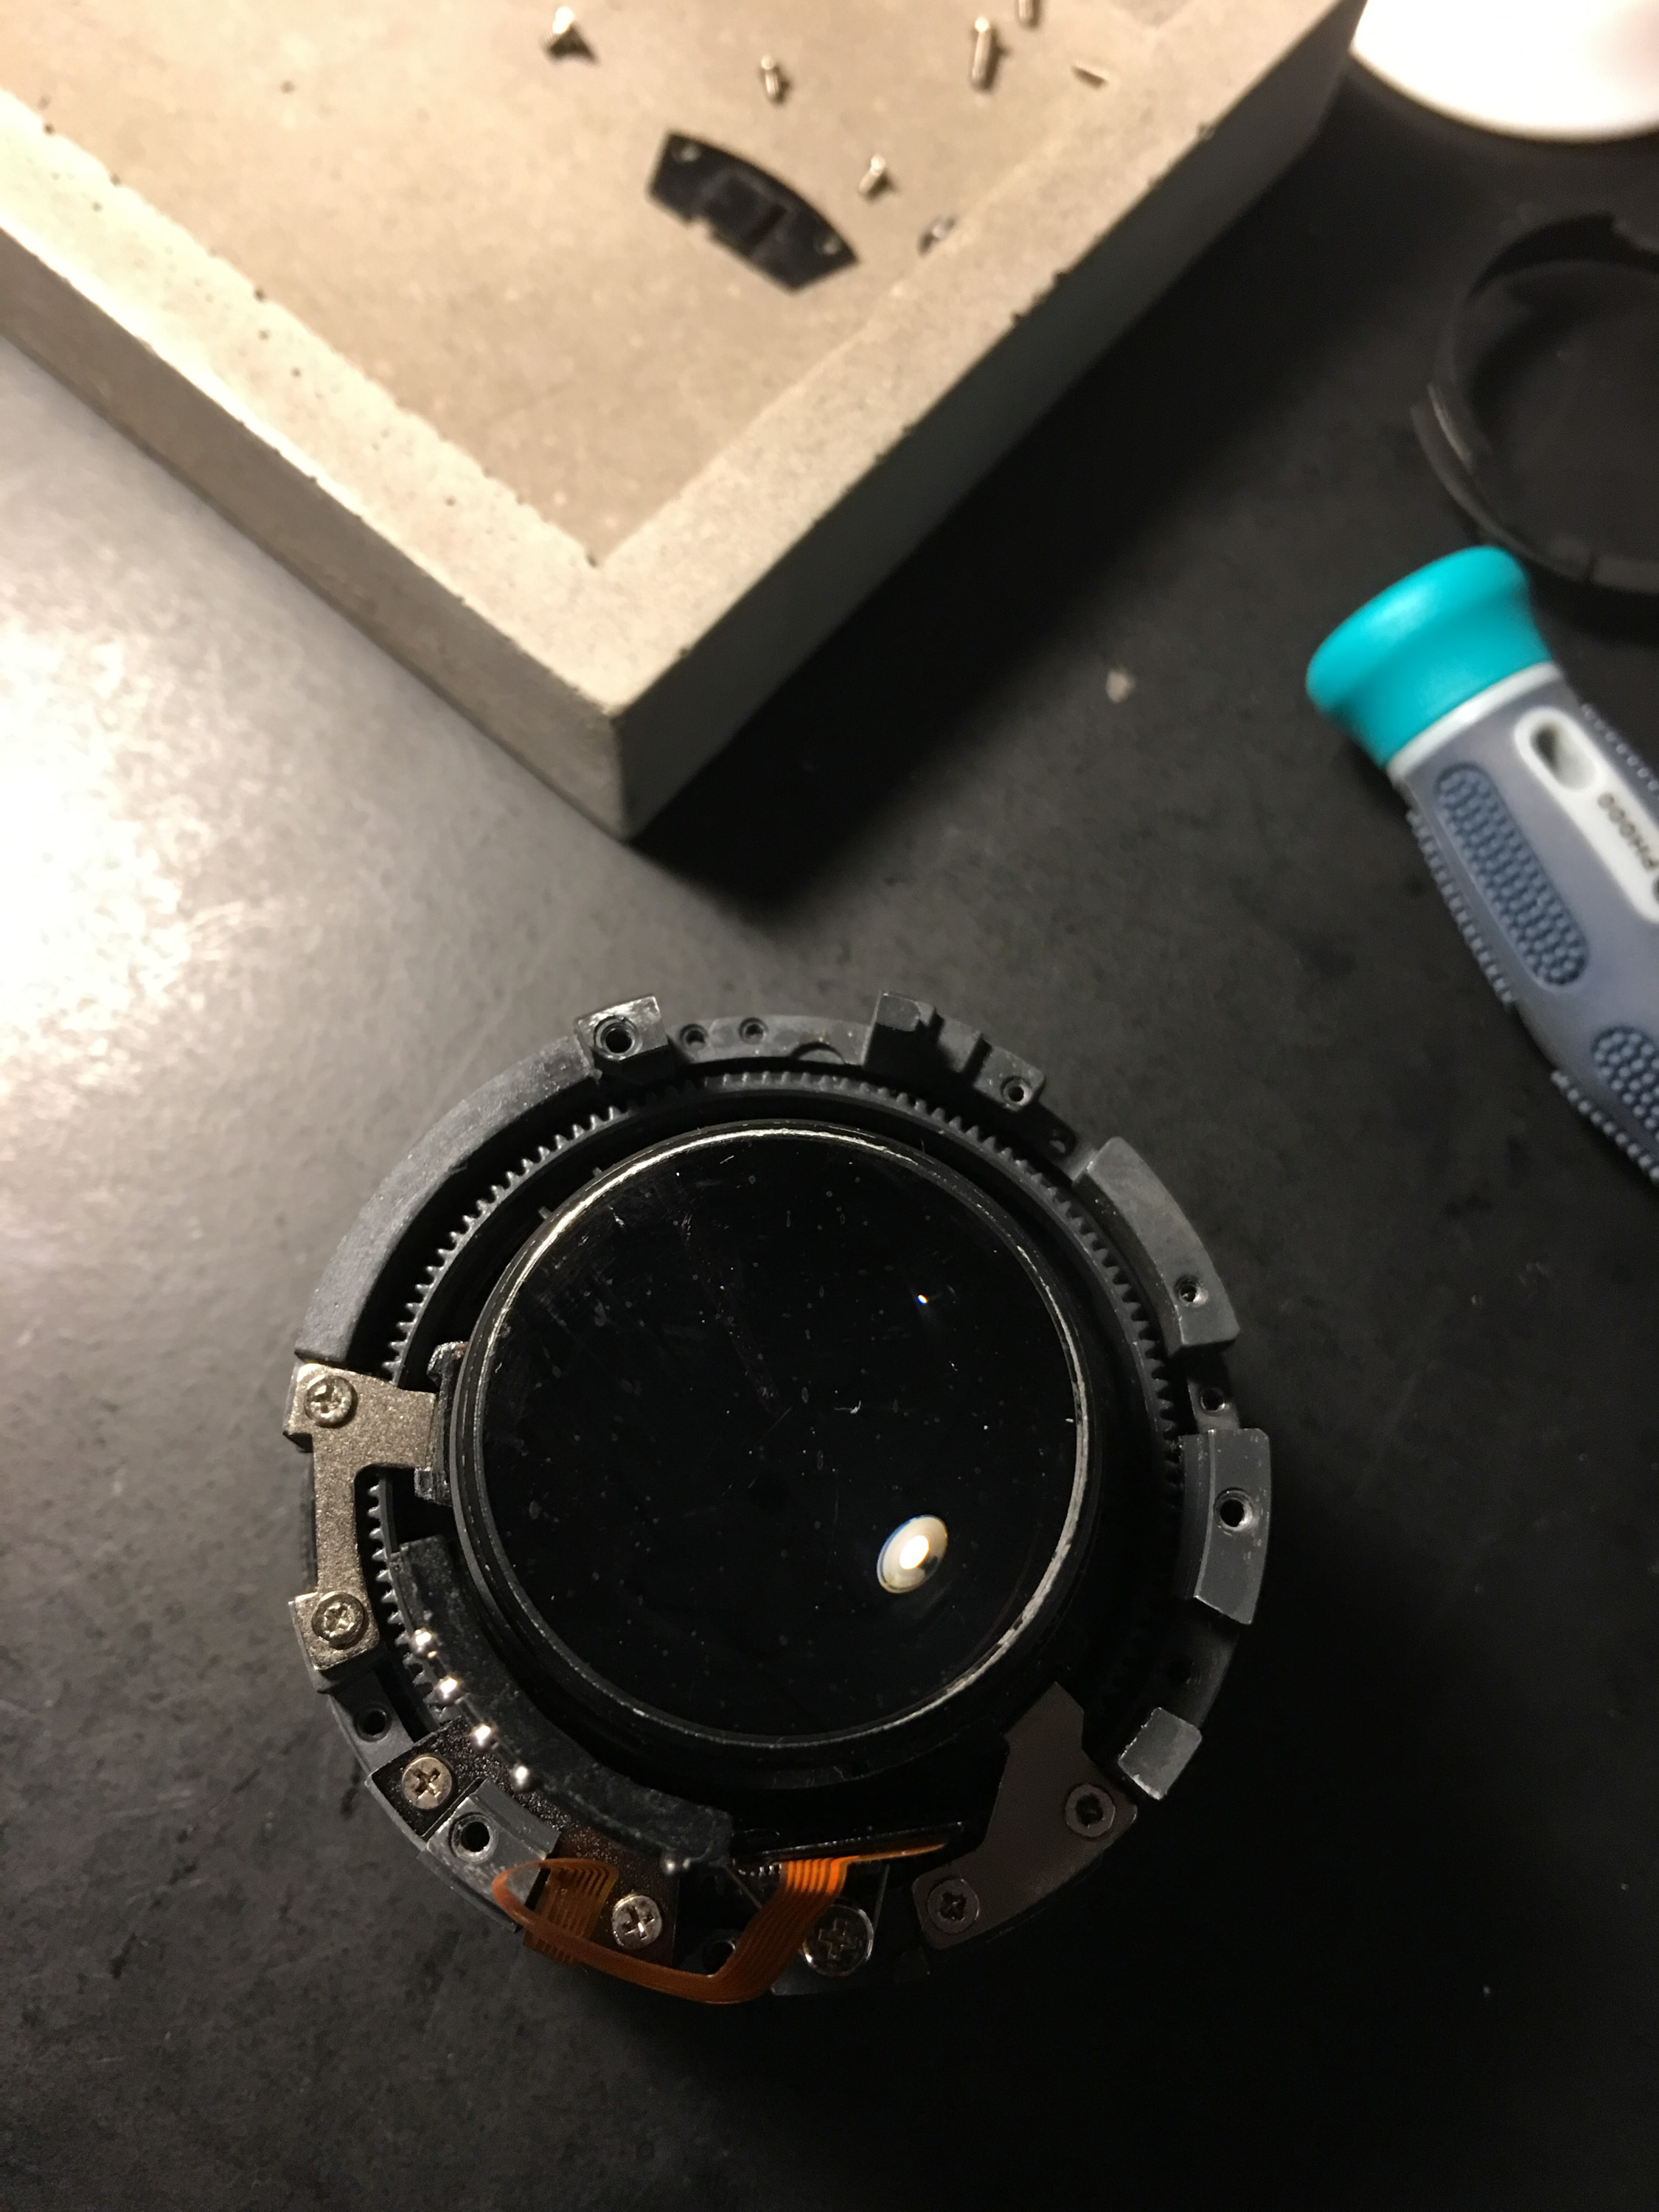
The large parts just get knolled into rows as they come off, since they’re harder to lose. I actually stopped this repair in the middle, had dinner, watched some TV, and then went back to it, knowing all the things I needed to know to finish it were there.
Once the lens is apart, you can do whatever repair brought you here in the first place. In my case, the helicoids had gotten dirty over years of use, and I needed to clean them. I used isopropyl alcohol, a toothbrush, and paper towels for cleanup. It’s not the strongest degreaser, but half of the threads were plastic, and I didn’t want to chance melting them. Instead of grease, I wiped on some machine oil, and began reassembly.
Often the hardest part of lens repair is reassembly. Getting the helicoids mated properly (with the correct rotation) I always find really difficult, and a matter of trial and error. Once that’s done, the rest I find pretty easy, just a matter of getting the right screws in the right places.
Some other notes: Ribbon cables are especially delicate, and nearly impossible to repair. Do everything in your power to avoid pulling on them or bending them too much. If the optics in the lens aren’t a sealed unit aligned at the factory, make a note of the number of turns you make getting it apart; this may help with alignment (but if you’re trying to align lens elements, you’ve gone beyond the scope of this guide).
Good luck and happy hacking!